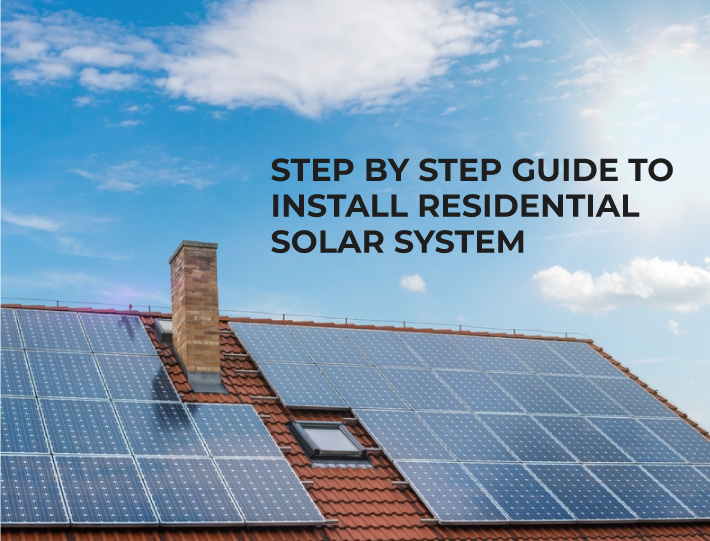
Step by Step Guide to Install Residential Solar System
More than a million houses have solar panels installed, and many more are contemplating doing so. If you're looking at renewable energy options, such as Residential Solar System, you may be curious in what goes into an installation and how you may do it yourself. There are a number of behind-the-scenes processes that must take place before your home may be powered by solar energy from the moment you sign the contract. We've laid out a basic guide for installing a home solar power system to give you an idea of what to anticipate.
How to Install a Solar Panel System
Acquire Materials for Solar Power
Getting together the fundamentals of a solar power unit is the first step. Solar panels, a charge controller, an inverter, and a battery pack are the four main components. You'll also need a circuit breaker, a voltmeter, an MC4 connection, and fuses. Always remember the importance of reading the solar panel module's instructions!
Determine Your Power Demand
Taking an inventory of your home's energy use is a necessary first step before beginning the solar installation process. This isn't a complicated issue. The only thing you need to do is make a list of the electronics and home appliances you use often. The total amount of time these appliances are on every day should then be added. Read the chart inside the electric appliance to see how long it can operate and how much electricity it requires.
Now you may figure out the 'Watt-Hour' by multiplying the duration of use with the appliance's power rating. Do this for each piece of electrical equipment, and then add together the watt-hour totals to reach a grand total. An online off-grid load calculator can also be used to facilitate this computation.
Select and Charge the Battery
The biggest problem with solar power is that it can't be used after dark. But a battery will quickly solve this issue for you. Solar energy is collected throughout the day and stored in a lead-acid or lithium-ion battery for use later. Assuming the optimal battery storage capacity was chosen, this guarantees a constant flow of power. To keep track of how much power is being sent into your battery, you'll need a power controller. These are placed in the path of the panels and the power source. These controllers often include a tiny LED light to indicate the battery's charging status and regulate the current being sent into the battery.
Connect the Inverter
Direct current (DC) is what solar panels generate, while alternating current (AC) is what most household appliances require. An inverter is a lifesaver since it allows you to utilise electronics without additional converters. Square wave, modified sine wave, and pure sine wave inverters are only few of the inverter types available. While the output of a modified sine wave is fine for most appliances, a square wave is incompatible with others, such as a refrigerator. The ideal kind of inverter to use with solar panels is a pure sine wave inverter.
Repair your Rooftop Solar Panels
Mounting the solar panels is the next step once the battery, controller, and inverters have been prepared. Choose a location for the panels where they will receive the most amount of direct sunlight. This might be a roof or an open patch of ground. A mounting stand can be fabricated at home or purchased commercially. The mounting stand's inclination should be close to the latitude angle at which you'll be using it. The efficiency and longevity of thehome solar panels depend on their correct installation. Keeping the panels oriented towards the sun is so crucial.
Connecting the solar panels' wiring is the final step here. At the rear of the home solar power panel, you may find a little junction box. Polarity indications of the junction box can be both negative and positive. The terminal wires in an MC4 connection may be found in the junction box of a big size panel. If you are using compact solar panels, however, you will be responsible for aligning the junction box with exterior wiring. The black wire should be connected to the negative terminal, and the red wire should be connected to the positive terminal.
Link the Solar Panels to the Power Source
The home solar panels and the power source must be linked. These are sometimes sold as a package deal in PV systems, saving you the trouble of having to acquire them separately. Series and parallel linkages must be made when the information is not presented as a whole. Connecting the positive terminal of one device to the negative terminal of another device creates a series connection. When wiring devices in parallel, the negative terminals of each device must be connected to one another.
Install the Inverter and Battery Stands
Stands for the battery and inverter are necessary additions to your home solar power system. Once again, you may choose to either make or buy the necessary stands. You may begin wiring the inverter and batteries once their designated locations have been prepared. The controller's wiring should be done first. The solar panels and the controller are linked through the first terminal from the left. The second plug is for linking the power source to the handler. Finally, a direct DC load connection is made between the controller and the device being controlled.
Conclusion
In conclusion, a high-quality residential solar installation is the product of meticulous preparation and flawless execution. It all begins with a well-thought-out system design that takes into account things like shadows, the integrity of the mounting structure under wind loads, and the selection of electrical components. The next step is to bring in a skilled team to make sure everything goes smoothly and according to plan during the project's implementation.

